Planning a Photo Wall
Creating a family photo wall allows you surround yourself with special memories and the people you love. It’s a way to create a focal point in your home, and bring some character and personality to your living space. Once you’ve selected your design, you can order your prints or canvases to get your project started.
1. Choose Your Wall & Gallery Style
First, select the location for your photo wall. You might have the perfect space above a piece of furniture, the stairwell, in a hallway or a great alcove or nook. I decided to use the hallway into our great room for my first photo wall, which you can see in the photo below.
There are all kinds of different photo walls you can create. You can go with clean, uniform lines or a more eclectic arrangement. My Hang it Up inspiration board on Pinterest has a ton of ideas and different styles.

2. Size Matters – Make sure it fits your space
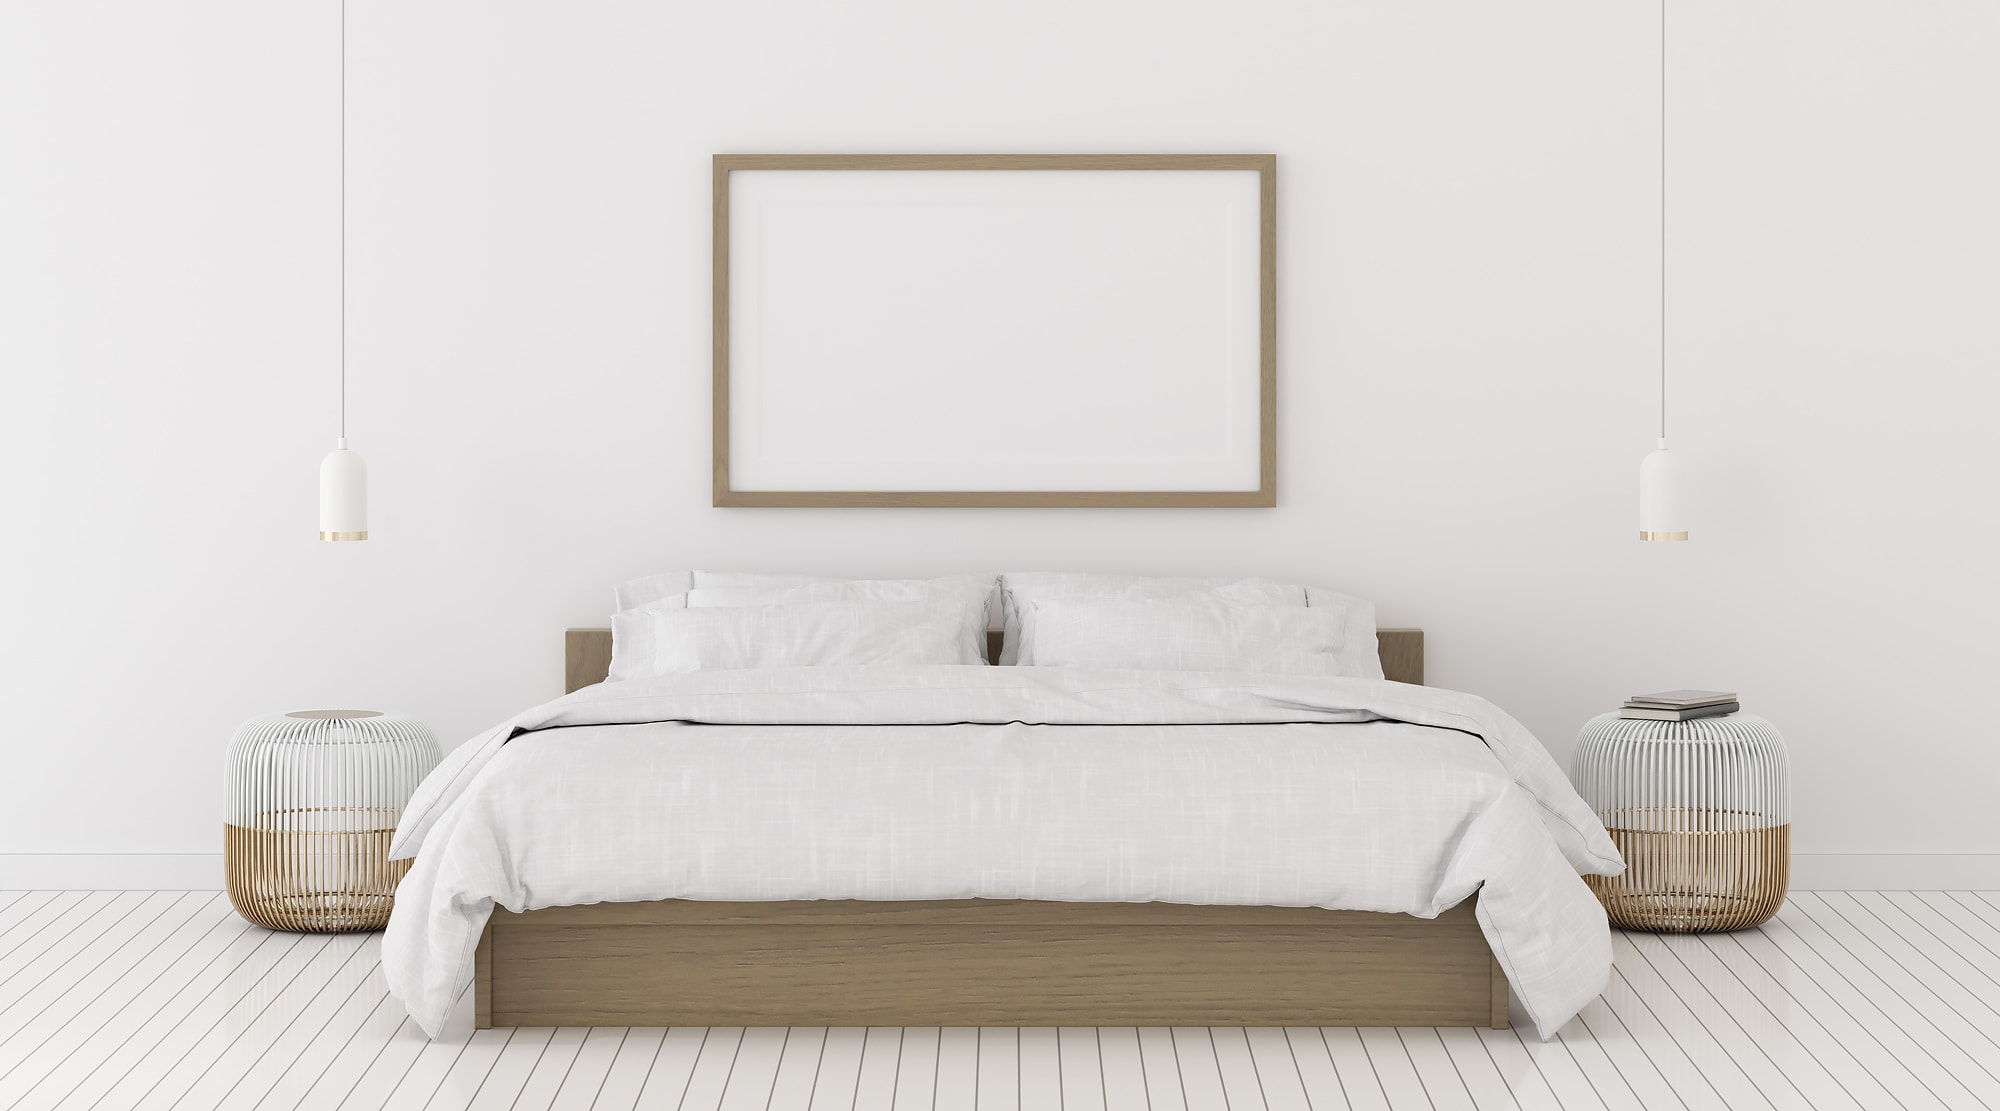
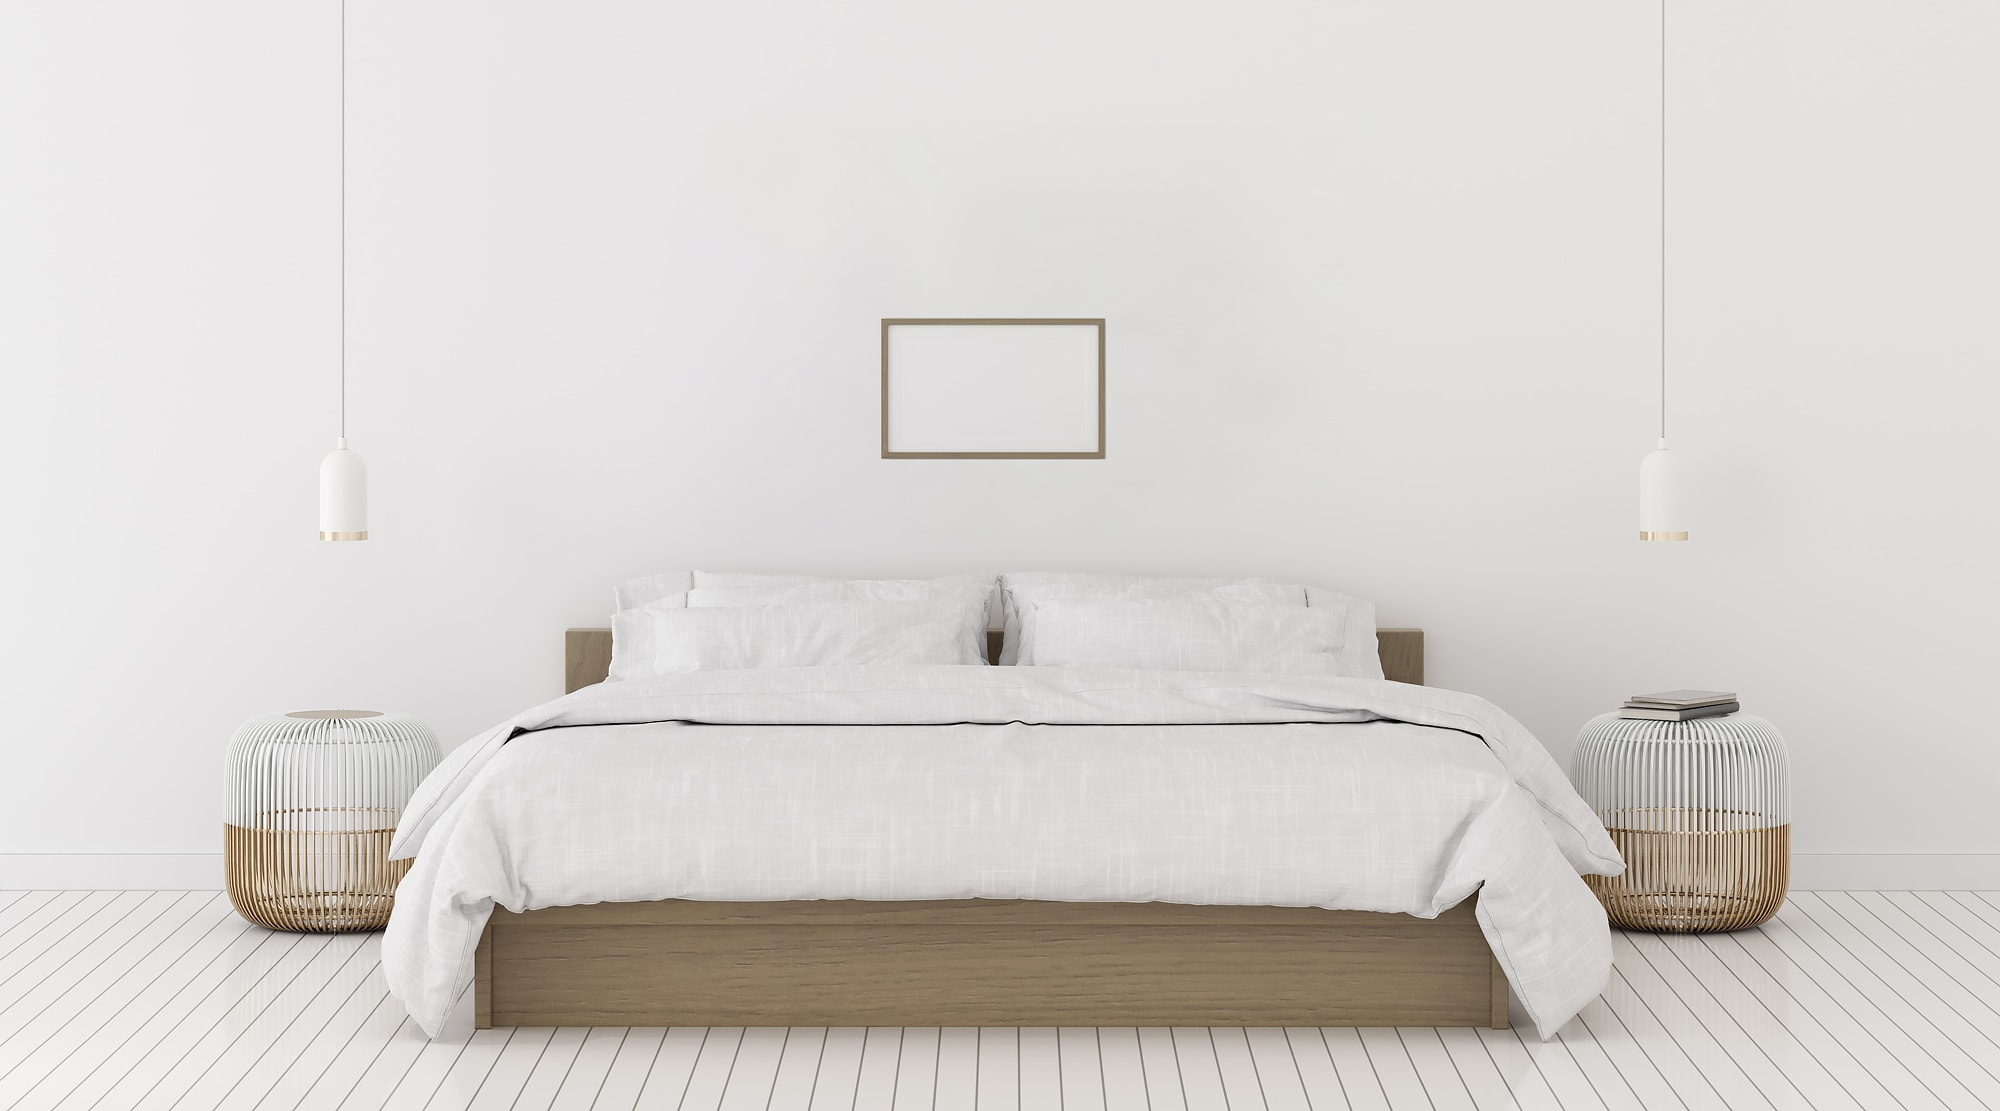
When creating a photo wall, it’s important to consider the size of the wall in relation to the size of the art pieces you plan to hang. If the wall is small, it’s best to choose smaller pieces to avoid overwhelming the space. Conversely, if the wall is large, you can opt for larger canvas wall art pieces to make a statement.
Another important consideration is the size of the art pieces in relation to the furniture beneath them. A general rule of thumb is that art hung over a piece of furniture should not be wider than the width of the furniture. A good proportion to aim for is for the art to be about 50-75% the width of the furniture. This will ensure that the art complements the furniture and doesn’t look out of place.
3. Choose your Material
When deciding on the type of display for your photo wall, you have the option of choosing which material you would prefer. Canvases, plaques or metal prints give a more polished and artistic look, while frames offer the ability to easily switch out images year after year. If you choose to go with frames, you can decide to keep them all the same, or mix and match different colours and materials for a more eclectic look. You can find more information on the different choices here.
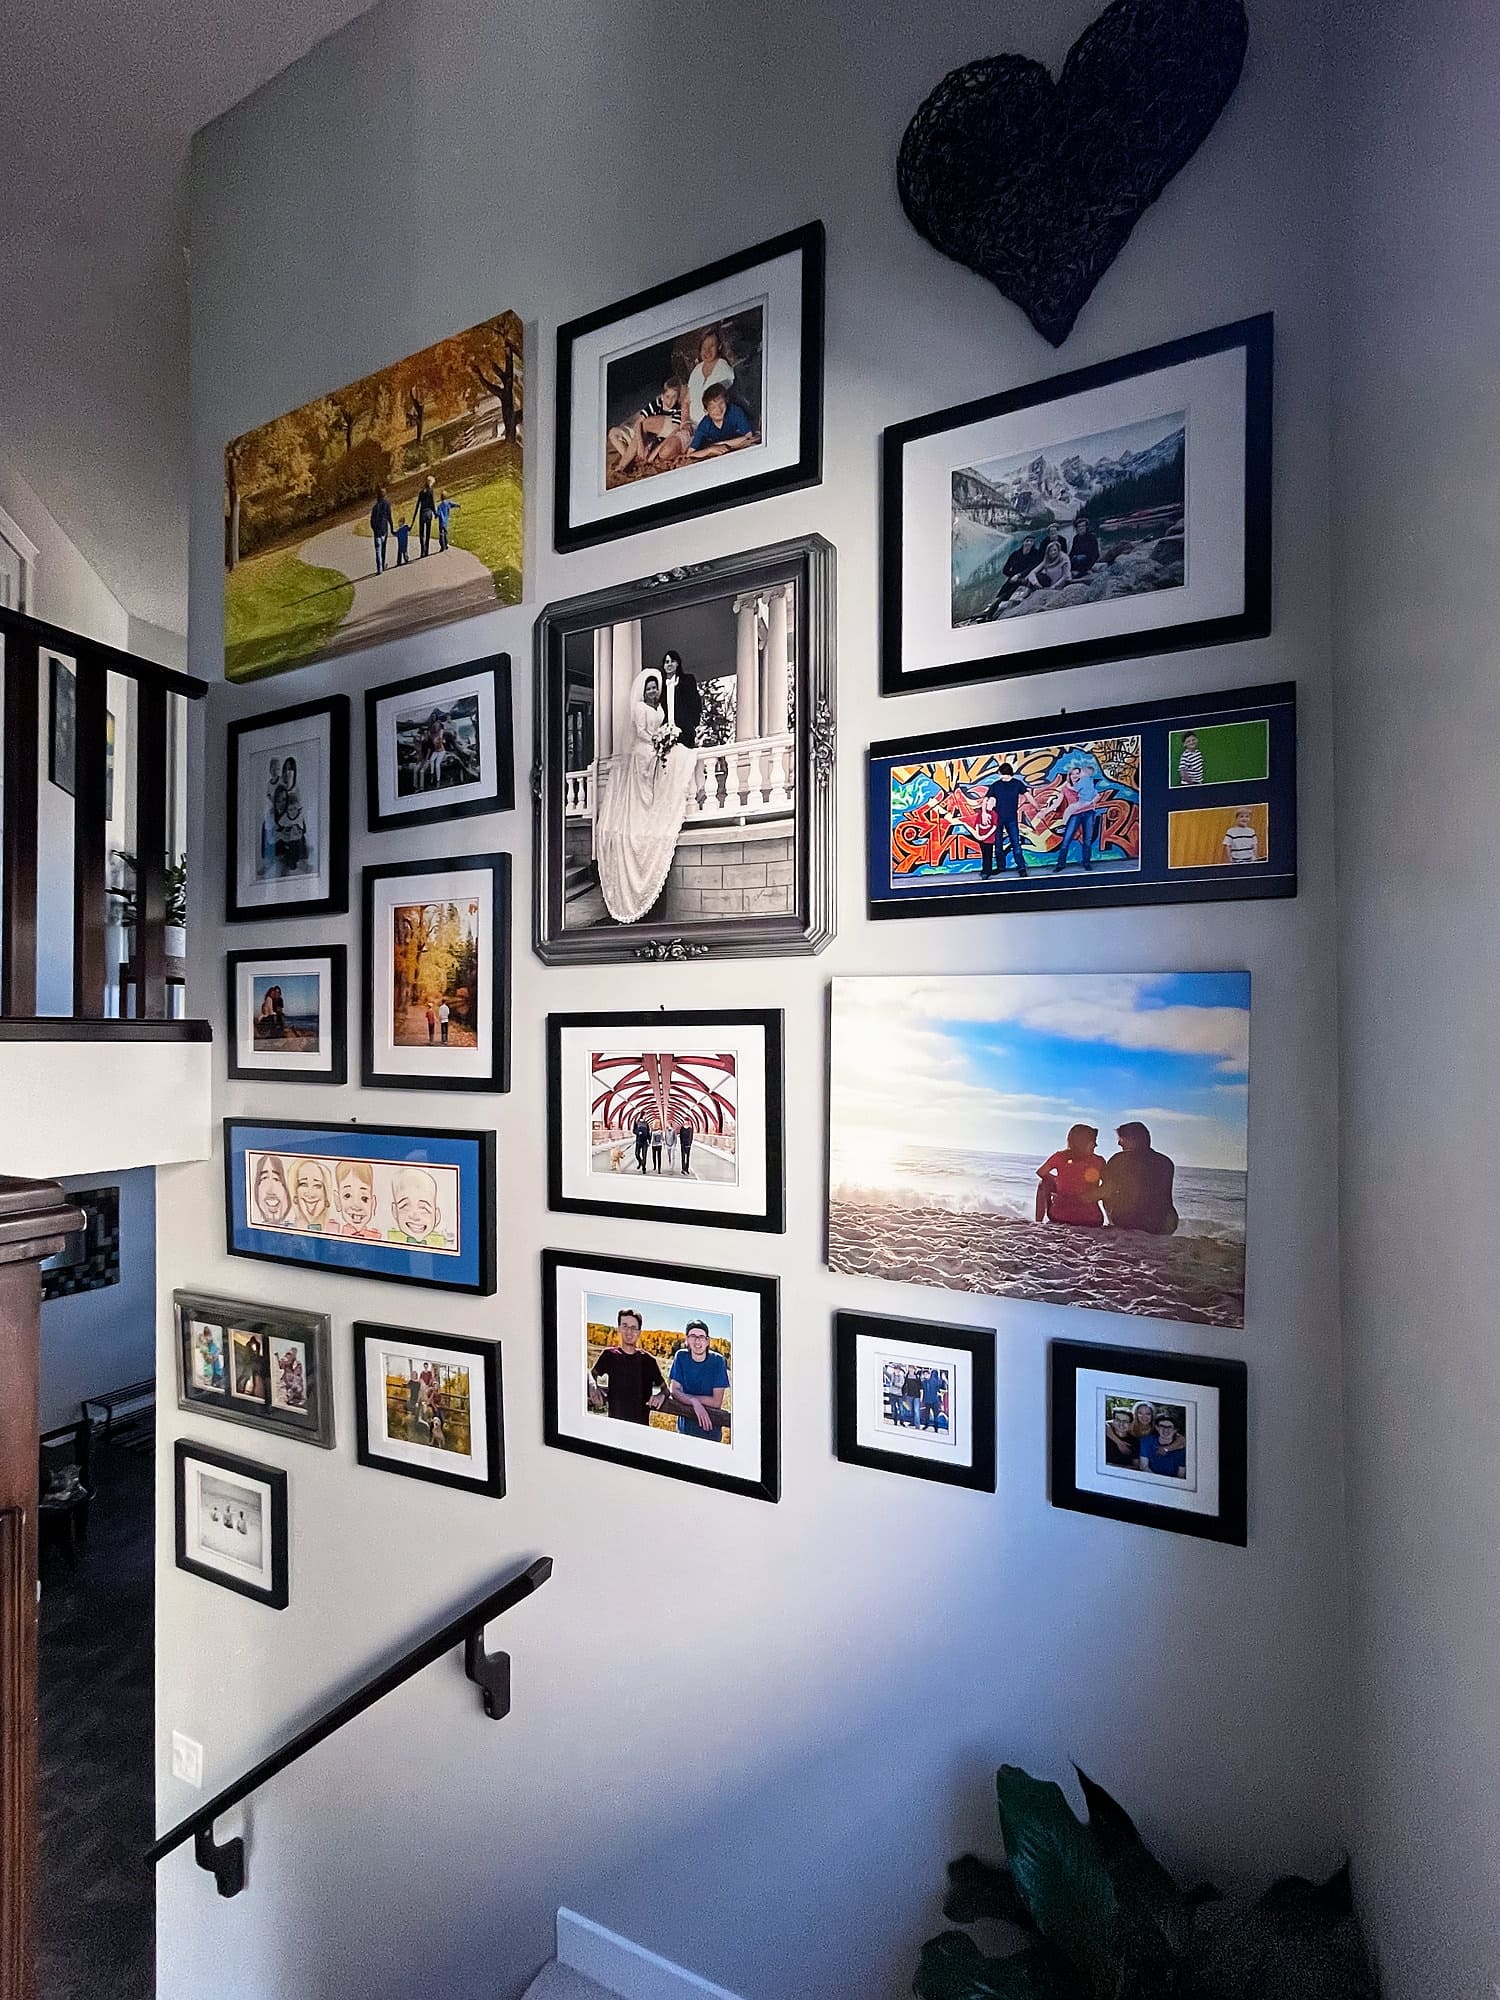
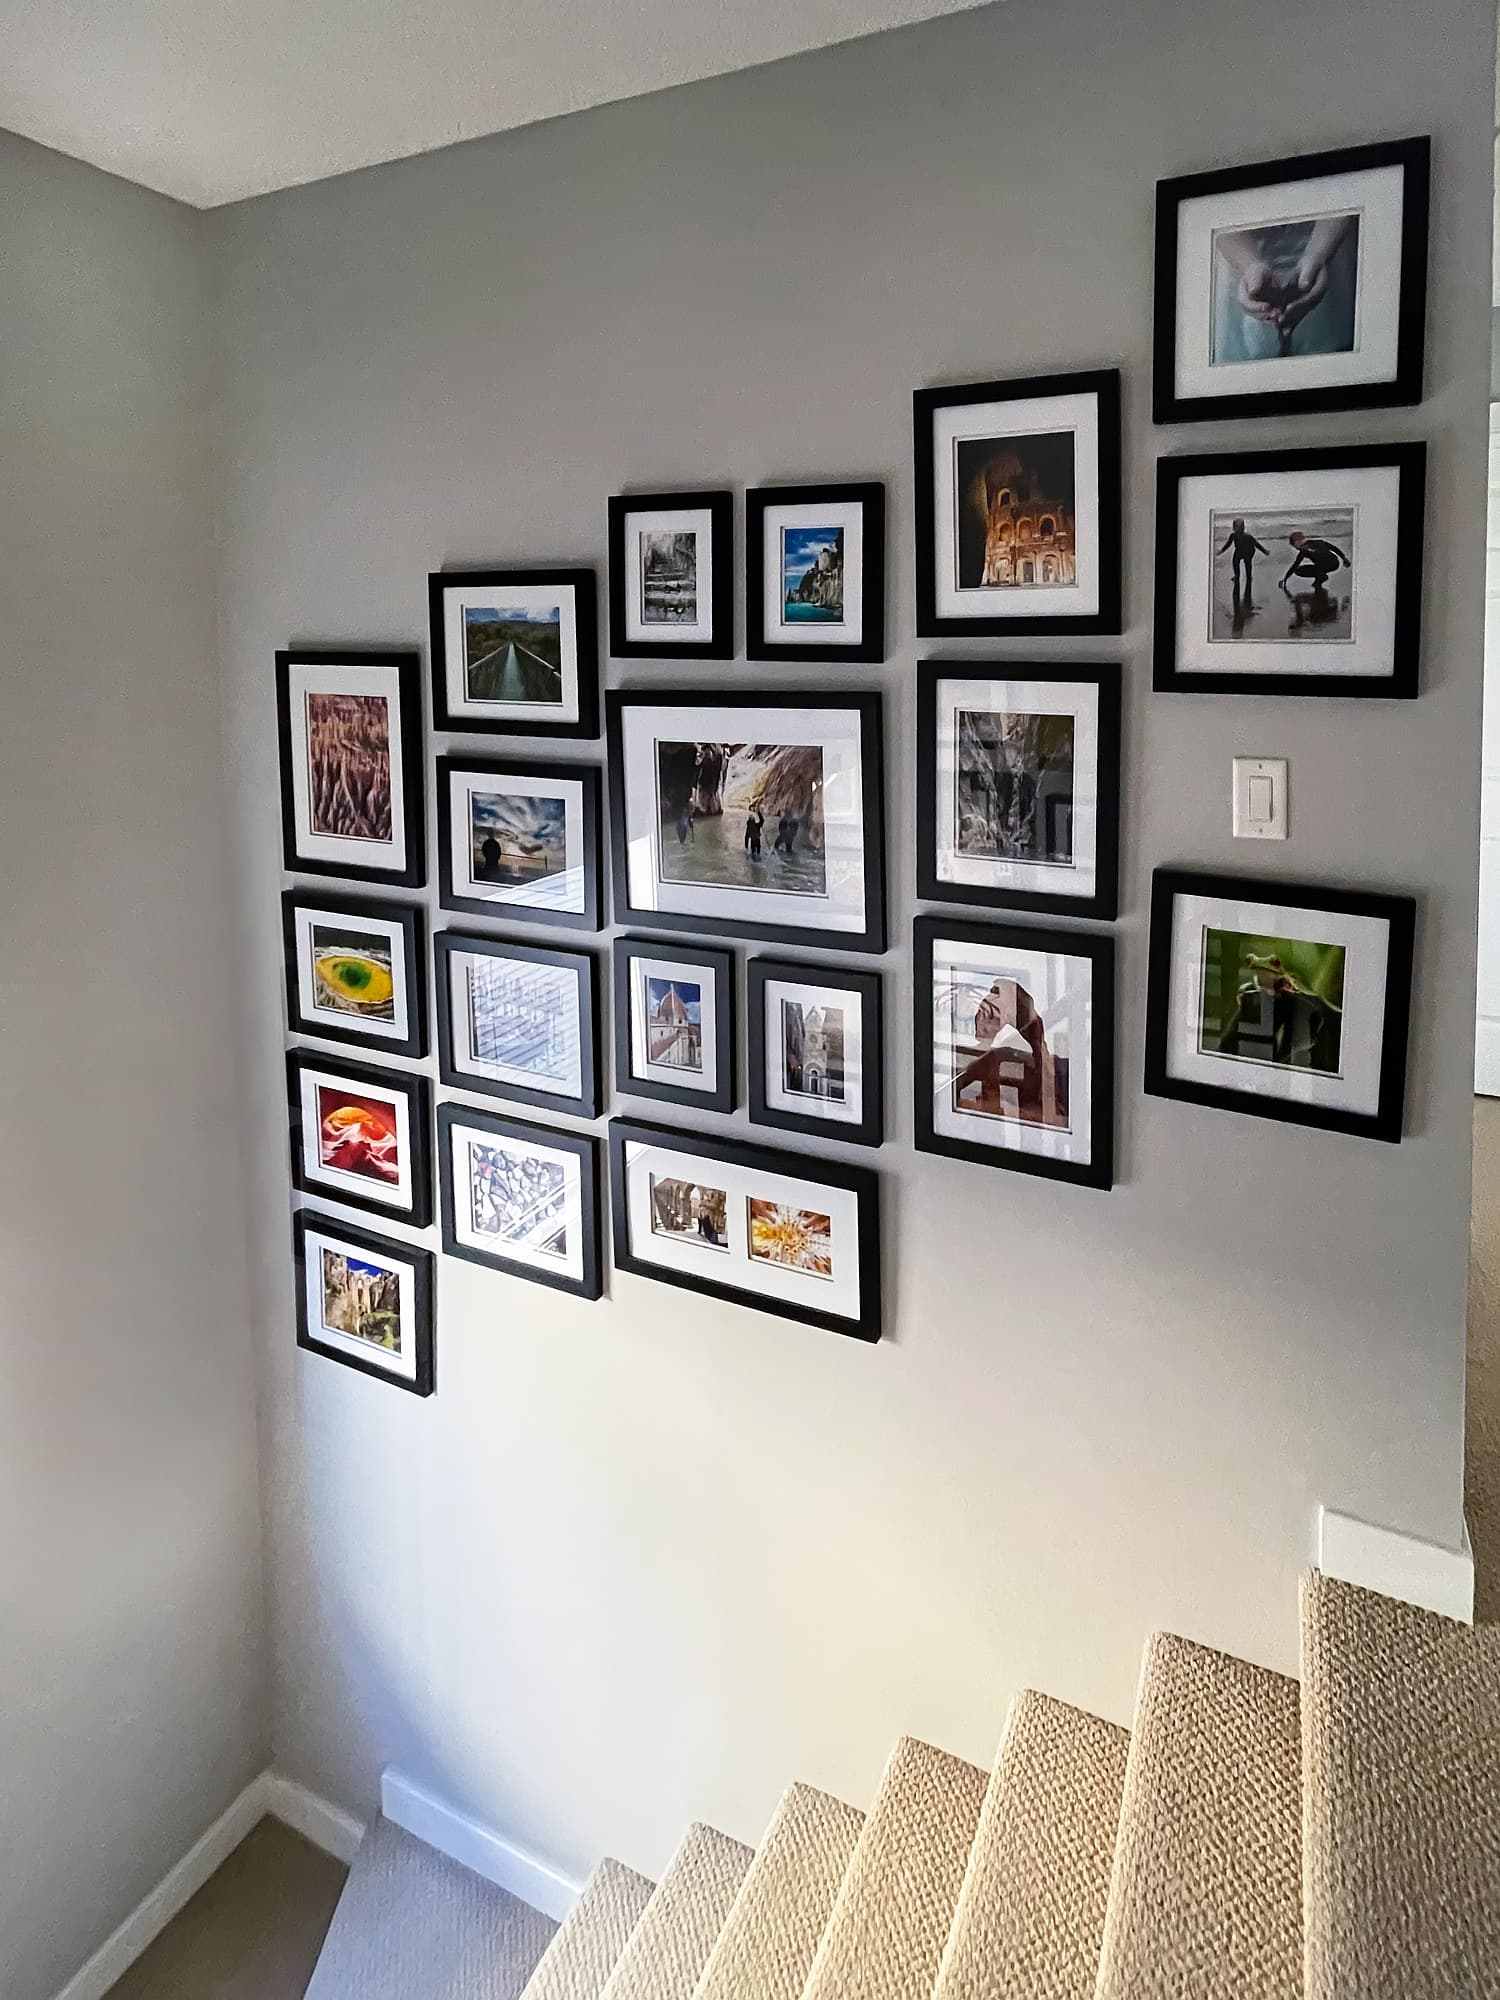
As an example, here in my stairwell, I decided to mix frames, canvases and plaques to create an interesting and dynamic display. On the other side of my stairwell I went for a more cohesive look by using all the same frames and creating a travel wall. I have found Michaels to have the best assortment and variety of sizes for frames. IKEA has reasonable and matching frames in all kinds of sizes as well.
Split canvases are a unique and visually striking way to showcase images with a wide landscape view or an off-center subject. These canvases are designed to be hung 1 inch apart, creating a sense of depth and dimension in the overall display. The gap between the two canvases gives the illusion that the image is continuing on and creates a more dynamic and interesting composition.

4. Measure and Hang for your Photo Wall
Arrange your pictures on the floor first before putting any holes in the wall. Stand back and take a look. Allow for 1 or 2 inches between frames and make sure you like how they are arranged. Once you’re ready to hang your frames, triple check all of your measurements, and use a level to make sure they’re all in the right place. When you hang one frame it’s not a big deal if your measurements are off slightly, but when hanging a number of frames together it is definitely noticeable.
When hanging pictures, it is typically best to hang them at eye level. This means positioning the picture so that its midpoint is 57-60 inches from the floor, depending on the ceiling height of the room and your height.

If you are having trouble deciding on your layout or your wall space, give me a shout and I am happy to answer any questions and help in any way I can.